Building An AI Playground With Ollama And Open WebUI: A Hands-On Introduction For Beginners
Large Language Models (LLMs) have been making waves in the field of artificial intelligence (AI) for quite some time, and their popularity continues to soar. These advanced models have the remarkable ability to understand, generate, and respond to human language with unprecedented accuracy and depth. With this surge in interest comes the rise of open source solutions that enable individuals and organizations to host LLMs locally.
In this blog post we will explore how to turn your existing local computer/server into a simple ai server.
OLLama and Open WebUI
OLLama is an open-source Large Language Model (LLM) framework designed to be run locally on personal computers or servers. It was created by the research team at Meta AI targeting researchers, students, and developers who might not have access to large cloud resources or want to maintain their data privacy. It provides simple interface for managing, exploring and testing LLMs locally.
Open WebUI is a web interface that works well with OLLama and openAI compatible apis. We will install OLLama and Open WebUI using docker compose and give a short introduction to Open WebUI interface.
Prerequisites
Before getting started, ensure your system meets the following requirements:
- Docker and Docker Compose installed and configured
- Necessary GPU drivers (for GPU mode) - tested only on NVIDIA GPUs
cudaandnvidia-container-toolkitinstalled
Installing Ollama and Open WebUI
To install OLLama and Open WebUI on your workstation, create following docker-compose.yaml file.
|
|
Execute docker-compose up -d.
You should be able to access Open WebUI interface on localhost:3000. Services will be activated on reboot.
Sign up
On first accessing Open WebUI you will have to sign up. After you enter your email and credentials you will have admin access. New users have to be added by admin user.
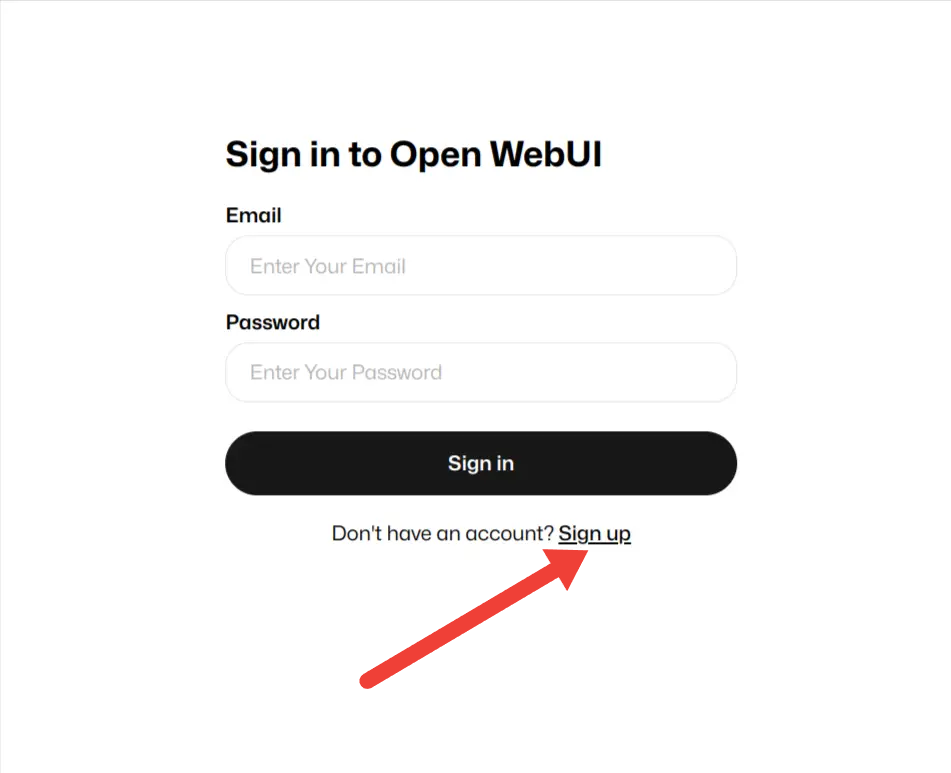
Fig 1. Sign Up
Pulling models locally
To get a new model from Ollama.com:
- Go to Settings > Models.
- Under “Pull a model from Ollama.com” enter
name:versionand hit download button (e.g., “mistral:7b”) - The system will update with the downloaded model.

Fig 2. Home Screen
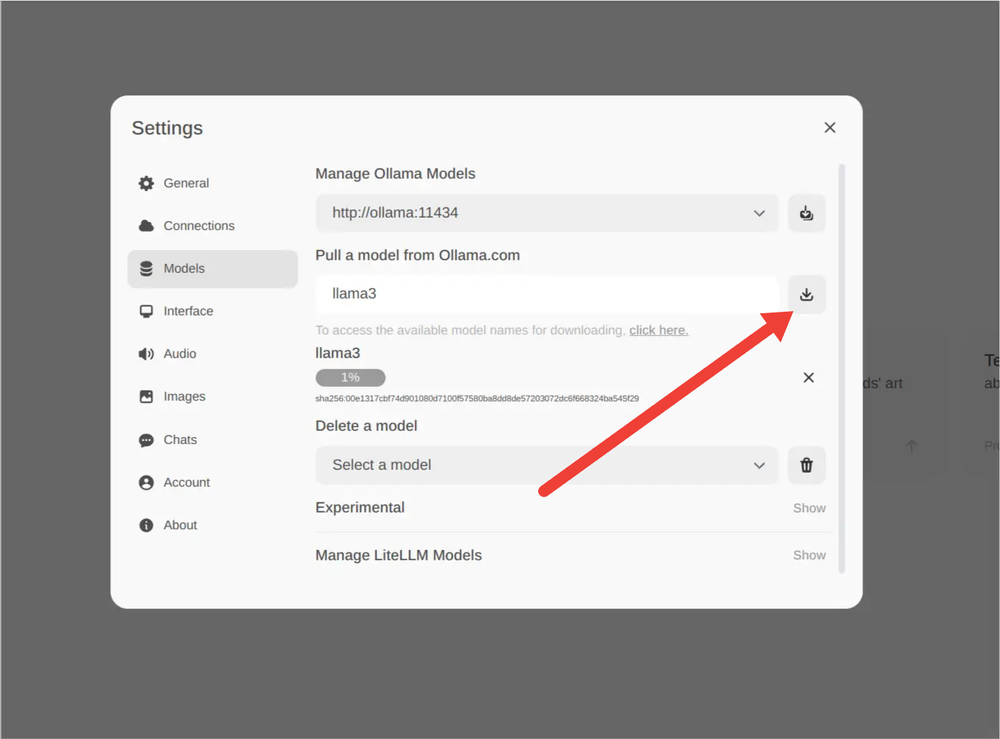
Fig 3. Downloading Model
To get information about available models, click a link below.
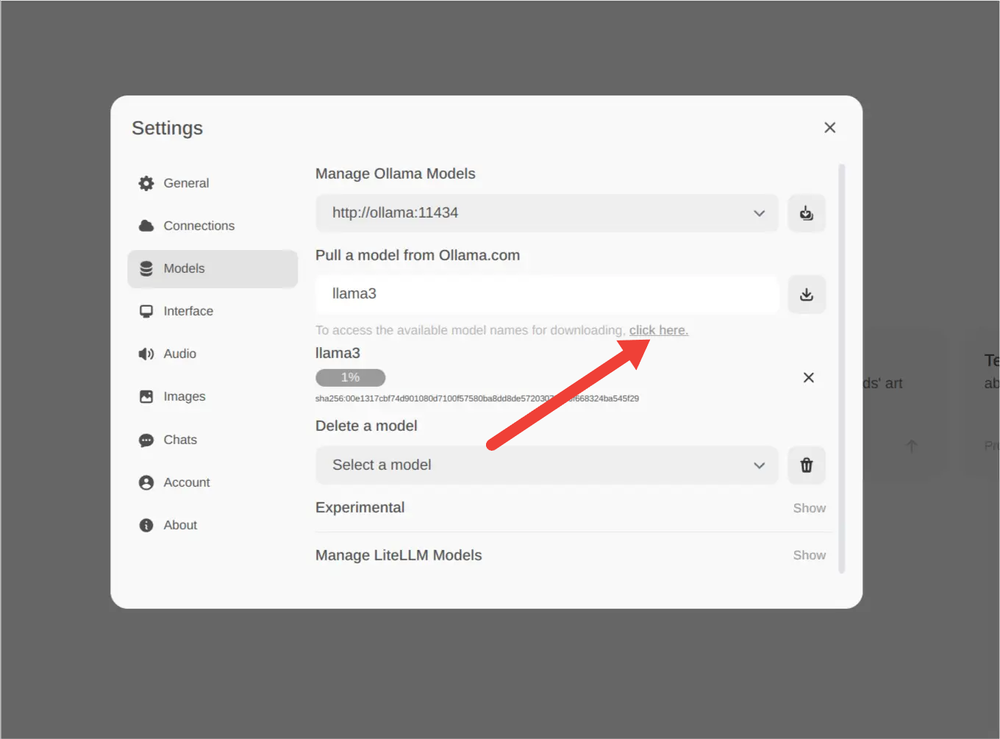
Fig 4. Model Resources
Chatting
To start chatting select the model and start writing in the chat below. Response speed depends on your system performance and if gpu is passed to OLLama docker container.
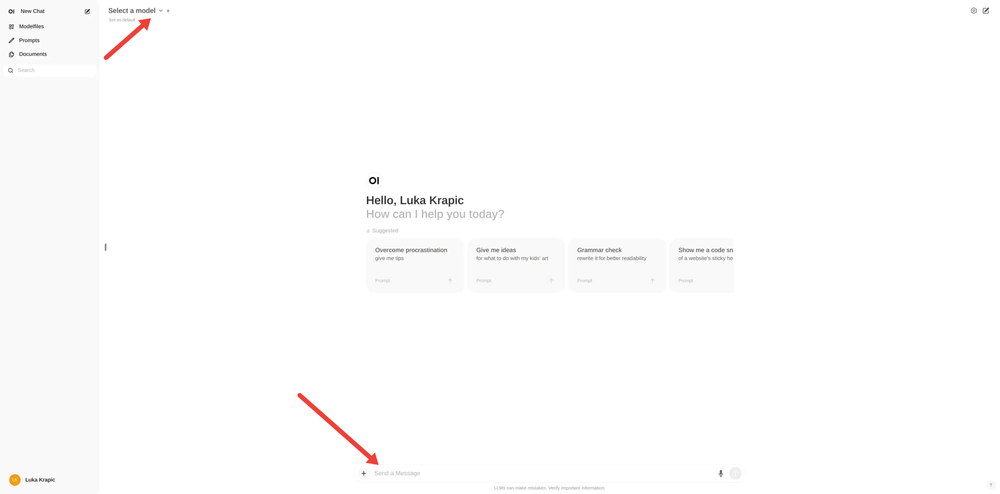
Fig 5. Start Chatting
Creating custom models
You have ability to create custom models by adding instructions and restrictions to existing models in a form of model files. To create custom model, go to Modelfiles -> Create a Modelfile.
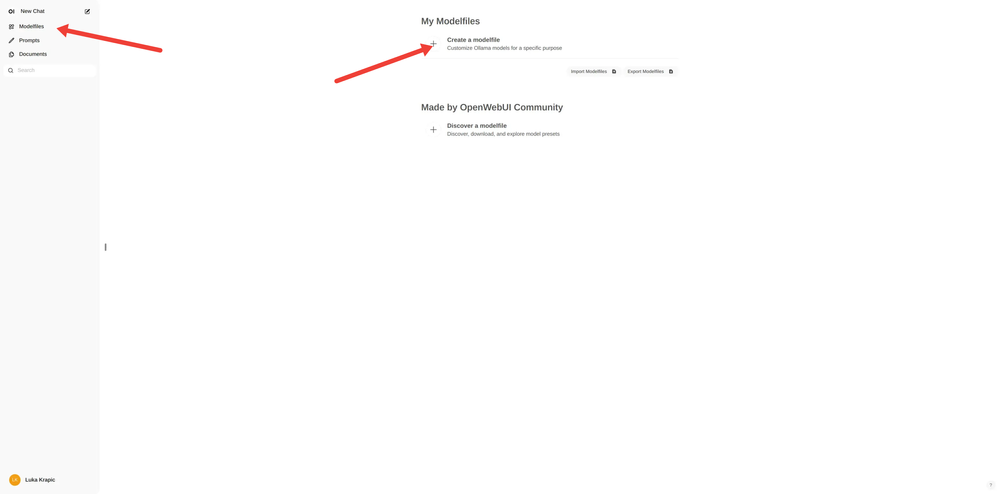
Fig 6. Navigate To Modelfile
Creating modelfiles is similar to creating docker files. You select existing model which you want to re-purpose and add SYSTEM prompt with instructions.
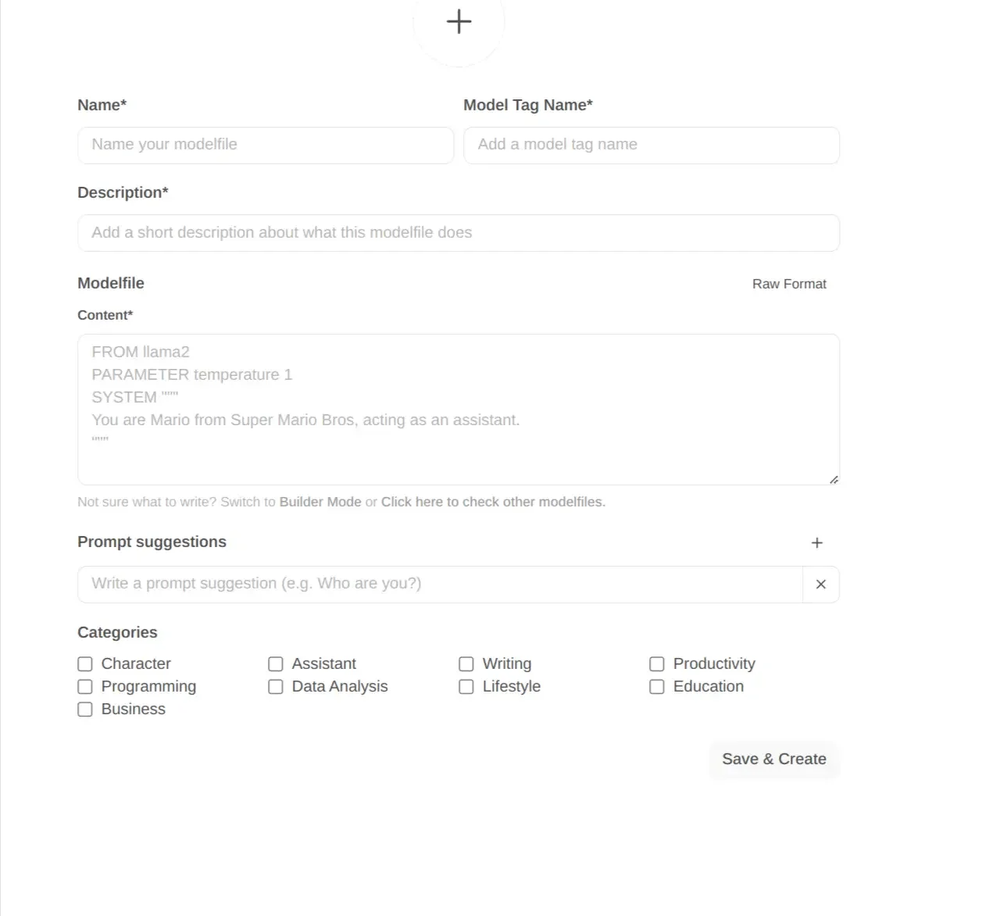
Fig 7. Create a Modelfile
Conclusion
In this blog post we have installed OLLama and Open webUI using docker and docker compose on your local machine. We have seen how to manage models and create custom ones.
Happy engineering!